The store will not work correctly when cookies are disabled.
We collect user information to provide a better user experience and protect the security of our website. By continuing to use our website, you acknowledge the use of cookies.
This product is a Oversized shipment which may incur extra charges in shipping
Quick Overview
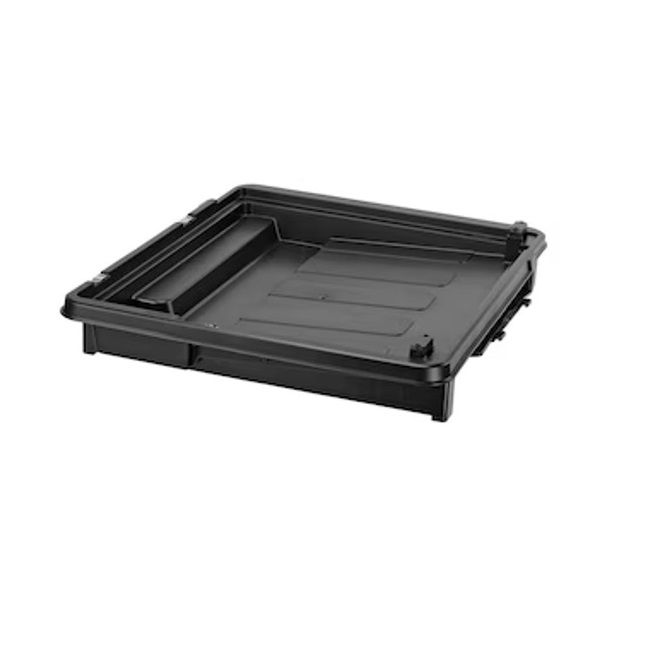
The Dewalt N644173 Pan is a replacement water pan designed specifically for the wet tile saw. Safe and effective tile cutting operations require it. The idea is to collect water and debris that is collected during the cutting process. It also has a particular shape and size to fit perfectly on the base and blade guard of the saw. It cools the blade, cuts dust and gives you clean cuts. Remote from the plant and provides continuous water cooling, protecting blades required at optimum performance. It helps reducing dust and other materials in the workspace, and thus provides better quality of air.
What maintenance is required for the Dewalt N644173 Pan?
Regularly empty and wipe the pan to prevent water residue or debris buildup that may affect proper seating. Inspect for cracks or warping that could cause leaks during operation. Avoid exposure to harsh chemicals that weaken plastic material. Store in a cool, dry place and handle carefully to prevent impact damage.
What are common issues with the Dewalt N644173 Pan?
Water drainage becomes blocked.
Pan edges warp under pressure.
Surface develops scratches from the tiles.
Difficulty in aligning with adjoining components.
Please, mind that only logged in users can submit questions
We strive to provide our customers with a hassle-free and efficient shopping experience. Our shipping policy ensures the timely delivery of your orders and complete customer satisfaction. View More
We are committed to ensuring your complete satisfaction with every purchase. We understand that circumstances may arise where you must return a product or request a refund. If for any reason you are not satisfied, you may return the item(s) according to the terms outlined below. View More
This Payment Policy outlines the terms and conditions governing all payments made for products purchased through our website. By making a purchase, you agree to be bound by this Payment Policy. View More
Installation Steps
Step1: Disconnect the power source or air hose; remove the battery if applicable.
Step2: Wear safety gloves and eye protection before starting.
Step3: Remove fasteners securing the old pan and lift it out carefully.
Step4: Clean the mounting surface to ensure proper seating.
Step5: Position the new pan, aligning holes and seals.
Step6: Reinstall and tighten fasteners evenly without overtightening.
Step7: Reconnect power/air and run a short test cycle to check for leaks or vibration.


Validate your login