The store will not work correctly when cookies are disabled.
We collect user information to provide a better user experience and protect the security of our website. By continuing to use our website, you acknowledge the use of cookies.
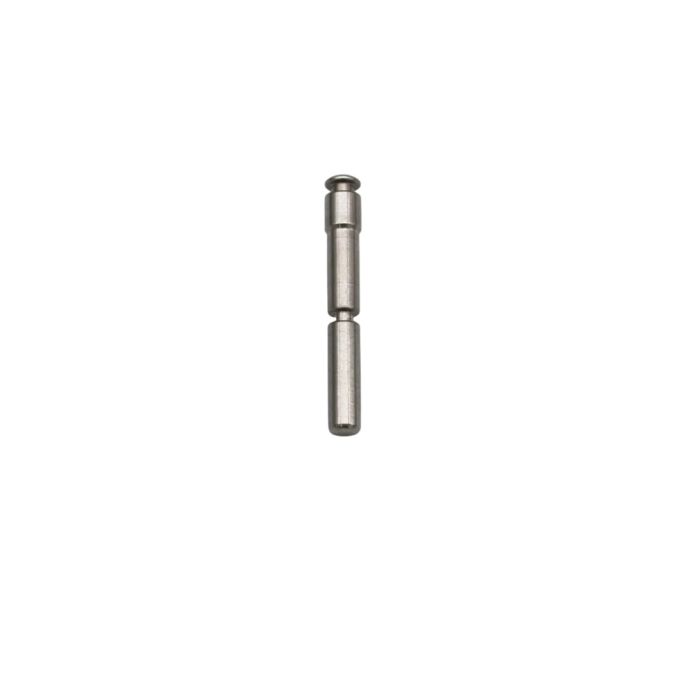
The Graco 188610 Sprayer Push Pin is a component used for the Graco sprayers. This part is an essential component that serves as support, a transition piece that helps the sprayer, perhaps in the pump. Its operation is specific, and it is responsible for the correct construction and operation of the sprayer, for the correct flow of the material. This part is a quality replacement for a worn or damaged push pin that ensures the sprayer’s optimal capability and durability for various spraying applications.
What maintenance is required for the Graco 188610 Push Pin?
Regularly inspect the push pin for wear, bending, or corrosion that could affect sprayer operation. Clean any paint, debris, or residue after each use to ensure smooth movement. Lubricate lightly if the pin contacts moving parts. Replace the push pin if damaged to maintain proper trigger function and safe spraying performance.
What are common issues with the Graco 188610 Push Pin?
Sprayer trigger not activating.
Flow starting intermittently.
Pressure not building consistently.
Push pin failing to engage spray.
Please, mind that only logged in users can submit questions
We strive to provide our customers with a hassle-free and efficient shopping experience. Our shipping policy ensures the timely delivery of your orders and complete customer satisfaction. View More
We are committed to ensuring your complete satisfaction with every purchase. We understand that circumstances may arise where you must return a product or request a refund. If for any reason you are not satisfied, you may return the item(s) according to the terms outlined below. View More
This Payment Policy outlines the terms and conditions governing all payments made for products purchased through our website. By making a purchase, you agree to be bound by this Payment Policy. View More
Installation Steps
Step1: Turn off and depressurize the sprayer before starting.
Step2: Locate the mounting hole for the push pin.
Step3: Remove any old or damaged push pin if present.
Step4: Insert the new push pin fully into the hole.
Step5: Ensure it locks securely in place.
Step6: Test the sprayer trigger or mechanism to confirm proper function.
Step7: Repressurize and operate the sprayer to verify installation.

Validate your login