The store will not work correctly when cookies are disabled.
We collect user information to provide a better user experience and protect the security of our website. By continuing to use our website, you acknowledge the use of cookies.
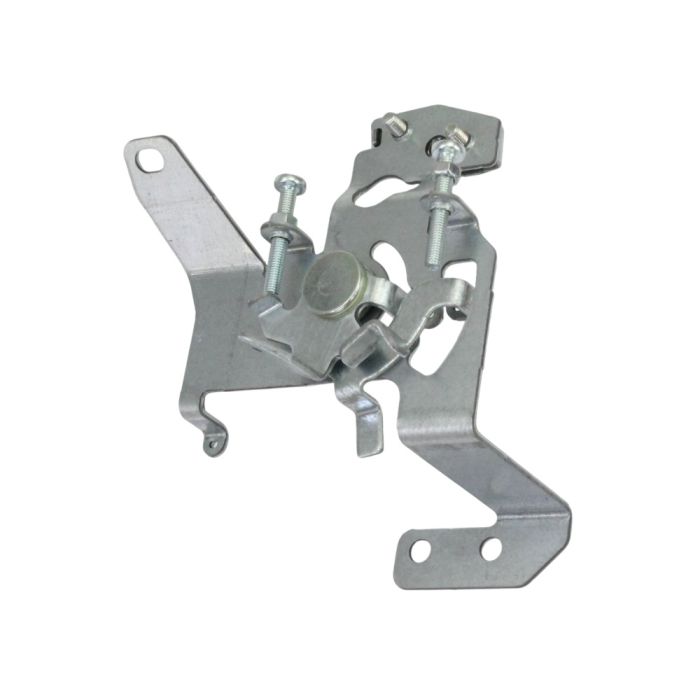
Kawasaki 49113-0727 Engine Control Panel Complete is a replacement part that is used in managing and controlling the engine. It is compatible with certain Kawasaki engines and combines switches, wires and indicators that are essential for operation and monitoring. It also allows for easy start up, shut down, and monitoring of the system for better durability and performance. It is suitable for outdoor power equipment to provide easy access to the engine and its components, cutting down on the time required for maintenance and enhancing the part functionality.
What maintenance is required for the Kawasaki 49113-0727 Control Panel Complete?
Periodically inspect the control panel for loose wires, corrosion, or moisture that can disrupt signal integrity. Clean the surface with a dry cloth and use electrical contact cleaner on terminals if oxidation appears. Confirm mounting screws are tight and protective covers seal properly. Always disconnect the battery before servicing to prevent shorts and ensure safety.
What are common issues with the Kawasaki 49113-0727 Control Panel Complete?
Panel fails to transmit control signals.
Buttons stick intermittently.
Display indicators become unreadable.
Engine starts inconsistently.
Please, mind that only logged in users can submit questions
We strive to provide our customers with a hassle-free and efficient shopping experience. Our shipping policy ensures the timely delivery of your orders and complete customer satisfaction. View More
We are committed to ensuring your complete satisfaction with every purchase. We understand that circumstances may arise where you must return a product or request a refund. If for any reason you are not satisfied, you may return the item(s) according to the terms outlined below. View More
This Payment Policy outlines the terms and conditions governing all payments made for products purchased through our website. By making a purchase, you agree to be bound by this Payment Policy. View More
Installation Steps
Step1: Ensure the engine is off, key removed, and battery disconnected.
Step2: Remove the old control panel by detaching mounting screws and disconnecting wiring.
Step3: Label wires or take a photo for reference.
Step4: Position the new panel and reconnect wires securely.
Step5: Fasten mounting screws, tightening evenly.
Step6: Reconnect the battery and test controls before regular use.

Validate your login