The store will not work correctly when cookies are disabled.
We collect user information to provide a better user experience and protect the security of our website. By continuing to use our website, you acknowledge the use of cookies.
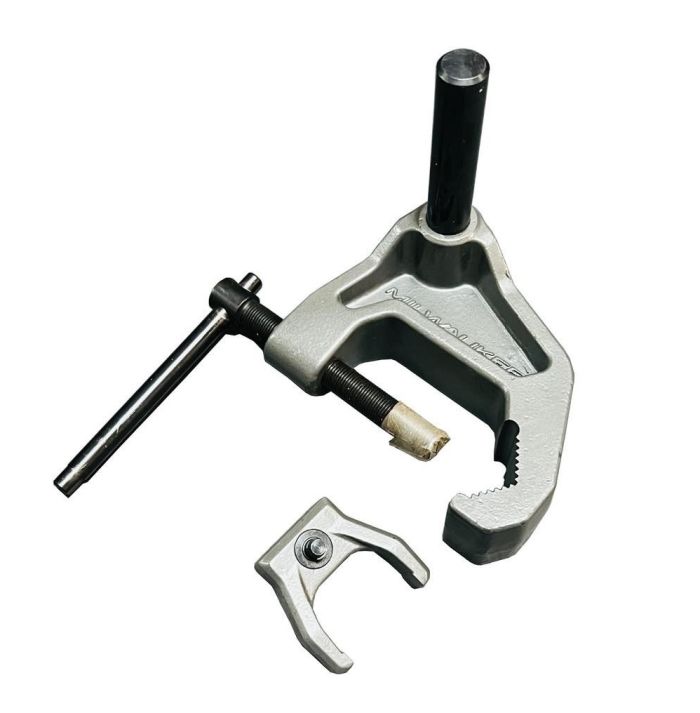
What maintenance is required for the Milwaukee 31-17-0012 Material Clamp Assembly?
Inspect the clamp assembly before each use for wear, cracks, or bent parts that could compromise holding strength. Clean jaws and pivot points to remove dust, debris, or metal shavings that can affect grip. Lightly lubricate moving joints to ensure smooth operation and prevent corrosion. Tighten any loose fasteners and replace worn pads to maintain secure clamping.
What are common issues with the Milwaukee 31-17-0012 Material Clamp Assembly?
Clamp jaw slips under pressure.
Spring tension weakens over time.
Handle becomes loose.
Clamp misaligns with mounting surface.
Please, mind that only logged in users can submit questions
We strive to provide our customers with a hassle-free and efficient shopping experience. Our shipping policy ensures the timely delivery of your orders and complete customer satisfaction. View More
We are committed to ensuring your complete satisfaction with every purchase. We understand that circumstances may arise where you must return a product or request a refund. If for any reason you are not satisfied, you may return the item(s) according to the terms outlined below. View More
This Payment Policy outlines the terms and conditions governing all payments made for products purchased through our website. By making a purchase, you agree to be bound by this Payment Policy. View More
Installation Steps
Step1: Remove the old clamp assembly from the tool or fixture.
Step2: Align the clamp assembly with mounting points.
Step3: Slide or position the clamp onto the rail or bracket as designed.
Step4: Insert and tighten bolts or screws to secure the assembly.
Step5: Verify the clamp moves or locks as intended.

Validate your login