The store will not work correctly when cookies are disabled.
We collect user information to provide a better user experience and protect the security of our website. By continuing to use our website, you acknowledge the use of cookies.
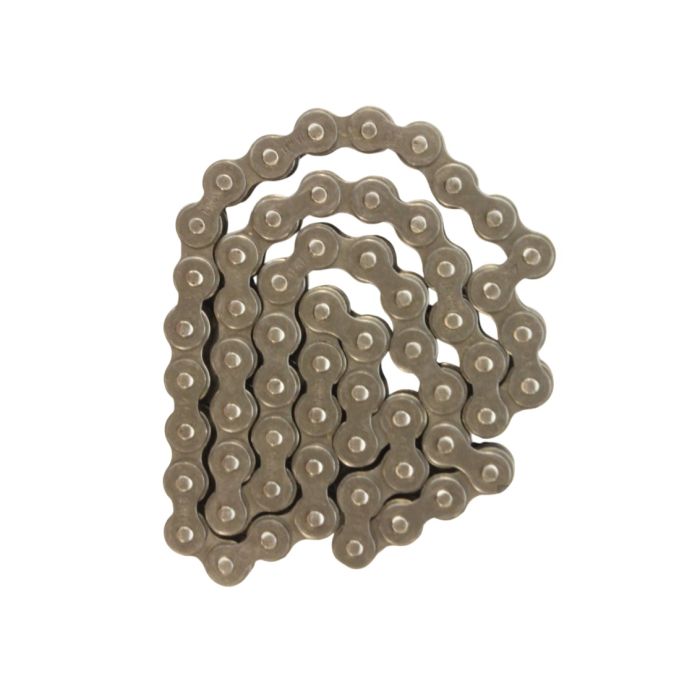
The Powermatic 6012137 Planer Chain is a spare part that is used in planers to provide proper feeding of the material. Designed to be a sturdy component, it also increases productivity by providing smooth forward and backward motion with minor friction reducing any slippage. It is suitable for users to gain accurate and consistent results and increase the durability of the machine. It is an essential part of the work, which provides the smooth functioning of the work, and increases the accuracy in each project.
What maintenance is required for the Powermatic 6012137 Chain?
Regularly inspect the planer chain for wear, dull cutting edges, and proper tension. Clean resin, dust, and debris from the chain after each use to prevent buildup. Lubricate moving parts lightly to reduce friction and prevent rust. Replace the chain immediately if links are damaged or teeth are excessively worn to ensure safe and efficient operation.
What are common issues with the Powermatic 6012137 Chain?
Feed inconsistent under load.
Planing depth varying unexpectedly.
Chain skipping teeth.
Excess vibration during operation.
Please, mind that only logged in users can submit questions
We strive to provide our customers with a hassle-free and efficient shopping experience. Our shipping policy ensures the timely delivery of your orders and complete customer satisfaction. View More
We are committed to ensuring your complete satisfaction with every purchase. We understand that circumstances may arise where you must return a product or request a refund. If for any reason you are not satisfied, you may return the item(s) according to the terms outlined below. View More
This Payment Policy outlines the terms and conditions governing all payments made for products purchased through our website. By making a purchase, you agree to be bound by this Payment Policy. View More
Installation Steps
Step1: Turn off and unplug the planer before starting any work.
Step2: Remove the planer’s cutter head cover to access the chain area.
Step3: Loosen the tensioning bolts and carefully remove the old chain.
Step4: Place the chain around the sprockets, ensuring correct orientation.
Step5: Adjust tension using the tensioning bolts until the chain moves smoothly without slack.
Step6: Reinstall the cutter head cover and verify the chain rotates freely.
Step7: Plug in the planer and test at low speed before full operation.

Validate your login