The store will not work correctly when cookies are disabled.
We collect user information to provide a better user experience and protect the security of our website. By continuing to use our website, you acknowledge the use of cookies.
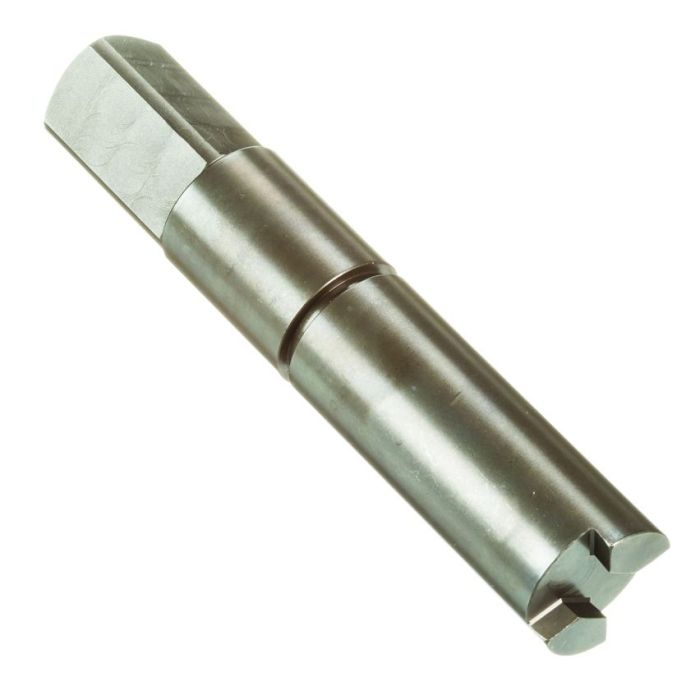
What maintenance is required for the Ridgid 39465 Threader Drive Shaft?
Regularly inspect the drive shaft for wear, bends, or surface rust that can affect alignment and threading accuracy. Clean the shaft and remove metal shavings or debris after each use to prevent binding. Apply a light coat of machine oil to moving sections to resist corrosion. Ensure all couplings and set screws are tight before operation.
What are common issues with the Ridgid 39465 Threader Drive Shaft?
Couplings loosen over time.
Threads wear prematurely.
Rotation becomes unstable.
Shaft binds during operation.
Please, mind that only logged in users can submit questions
We strive to provide our customers with a hassle-free and efficient shopping experience. Our shipping policy ensures the timely delivery of your orders and complete customer satisfaction. View More
We are committed to ensuring your complete satisfaction with every purchase. We understand that circumstances may arise where you must return a product or request a refund. If for any reason you are not satisfied, you may return the item(s) according to the terms outlined below. View More
This Payment Policy outlines the terms and conditions governing all payments made for products purchased through our website. By making a purchase, you agree to be bound by this Payment Policy. View More
Installation Steps
Step1: Disconnect the tool from power.
Step2: Remove the old drive shaft from the threader housing.
Step3: Clean the housing and check alignment.
Step4: Align and slide the new drive shaft into position.
Step5: Secure it with the appropriate fasteners.
Step6: Ensure the shaft rotates freely.
Step7: Test the threader at low speed before full operation.

Validate your login