The store will not work correctly when cookies are disabled.
We collect user information to provide a better user experience and protect the security of our website. By continuing to use our website, you acknowledge the use of cookies.
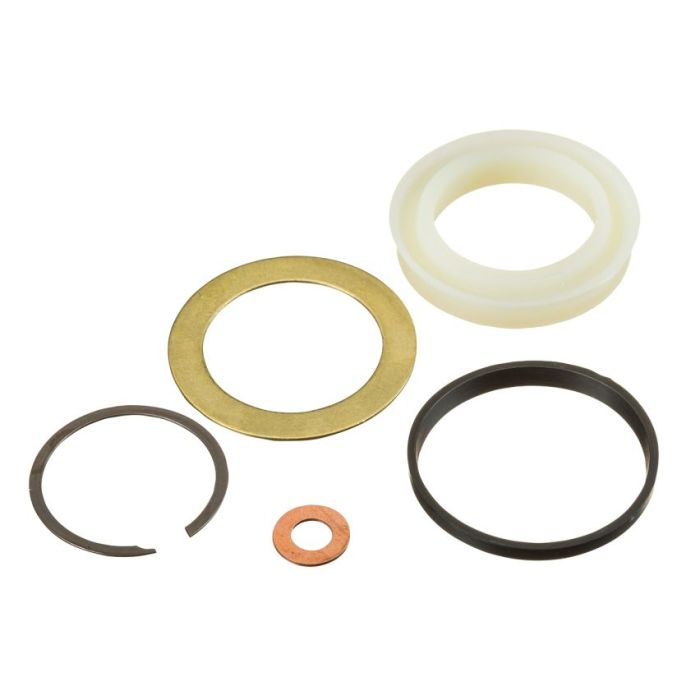
The Ridgid 62557 Repair Kit for F/Cylinder is an accessory that is meant to help repair Ridgid’s F-style hydraulic crimpers. This kit contains all components required for the repair and maintenance of your tool to guarantee it works effectively and lasts long. That way, users can effectively work on crimping without having to purchase a new tool because they can replace the damaged part. The repair kit is easy to use, and its installation is simple and fast, which means that the downtime is kept to a minimum the Ridgid Repair Kit increases efficiency, reduces the costs of tool replacement, and maintains the quality that Ridgid is known for.
What maintenance is required for the Ridgid 62557 Repair Kit F/Cylinder?
Before installation, clean the cylinder bore and surrounding areas thoroughly to remove old oil, debris, and metal particles. Inspect all seals, O-rings, and piston rings from the kit for correct fit and smooth edges. Apply a light film of compatible lubricant to seals before reassembly to ensure proper sealing. Tighten fasteners to specified torque values and cycle the mechanism to check for binding.
What are common issues with the Ridgid 62557 Repair Kit F/Cylinder?
Moving components become stiff or jammed.
Repaired cylinder does not operate smoothly.
Cylinder leaks fluid.
O-rings wear unevenly.
Please, mind that only logged in users can submit questions
We strive to provide our customers with a hassle-free and efficient shopping experience. Our shipping policy ensures the timely delivery of your orders and complete customer satisfaction. View More
We are committed to ensuring your complete satisfaction with every purchase. We understand that circumstances may arise where you must return a product or request a refund. If for any reason you are not satisfied, you may return the item(s) according to the terms outlined below. View More
This Payment Policy outlines the terms and conditions governing all payments made for products purchased through our website. By making a purchase, you agree to be bound by this Payment Policy. View More
Installation Steps
Step1: Disconnect the tool from power or air supply.
Step2: Remove components to access the cylinder assembly.
Step3: Extract worn parts from the cylinder.
Step4: Clean the cylinder and surrounding surfaces.
Step5: Install new parts from the repair kit in correct order.

Validate your login