The store will not work correctly when cookies are disabled.
We collect user information to provide a better user experience and protect the security of our website. By continuing to use our website, you acknowledge the use of cookies.
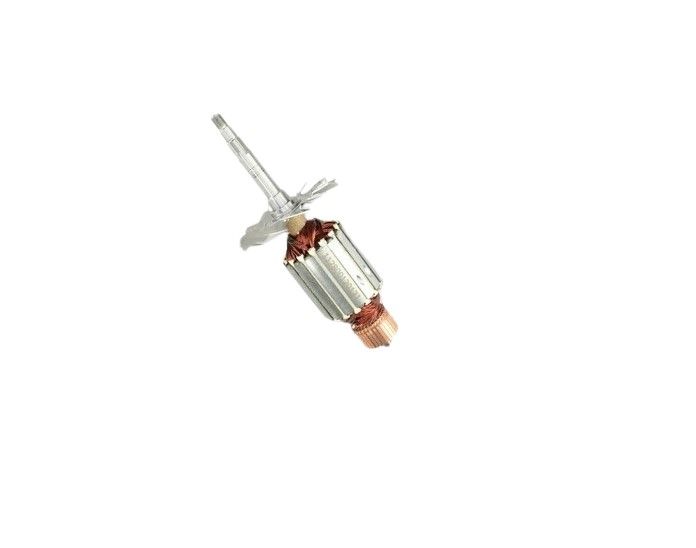
This Skil 2751128001 Armature is an original replacement intended to reinstall and improve the functionality of the corresponding Skil portable power tools. Built to be strong and lightweight, it converts electrical power into mechanical and spins the tool’s motor for steady and glide performance. This armature’s design offers enhanced durability to the tool handling system and helps avoid breakdown frequently thereby leading to enhanced performance. Perfect for keeping the tools in optimum condition, the Skil 2751128001 enables users to achieve optimal, high performance in their projects making it a core component for enhancing tool durability and reliability on challenging tasks.
What maintenance is required for the Skil 2751128001 Armature?
Periodically inspect the armature for signs of wear, burns on the commutator, or scoring that can impair performance. Clean the commutator with a soft cloth and appropriate cleaner to remove carbon buildup and debris. Ensure that brushes are making proper contact and replace them when worn to prevent sparking. Always disconnect power before servicing to avoid injury.
What are common issues with the Skil 2751128001 Armature?
Armature windings short circuit.
Commutator wears unevenly.
Bearing fails prematurely.
Motor vibrates excessively.
Please, mind that only logged in users can submit questions
We strive to provide our customers with a hassle-free and efficient shopping experience. Our shipping policy ensures the timely delivery of your orders and complete customer satisfaction. View More
We are committed to ensuring your complete satisfaction with every purchase. We understand that circumstances may arise where you must return a product or request a refund. If for any reason you are not satisfied, you may return the item(s) according to the terms outlined below. View More
This Payment Policy outlines the terms and conditions governing all payments made for products purchased through our website. By making a purchase, you agree to be bound by this Payment Policy. View More
Installation Steps
Step1: Disconnect the tool from power or remove the battery.
Step2: Open the housing by removing screws.
Step3: Disconnect and note brush and lead positions.
Step4: Remove the old armature from the motor assembly.
Step5: Insert the new armature in the same orientation.
Step6: Reconnect brushes and leads to their original terminals.
Step7: Reassemble the housing and test the tool for proper operation.

Validate your login