The store will not work correctly when cookies are disabled.
We collect user information to provide a better user experience and protect the security of our website. By continuing to use our website, you acknowledge the use of cookies.
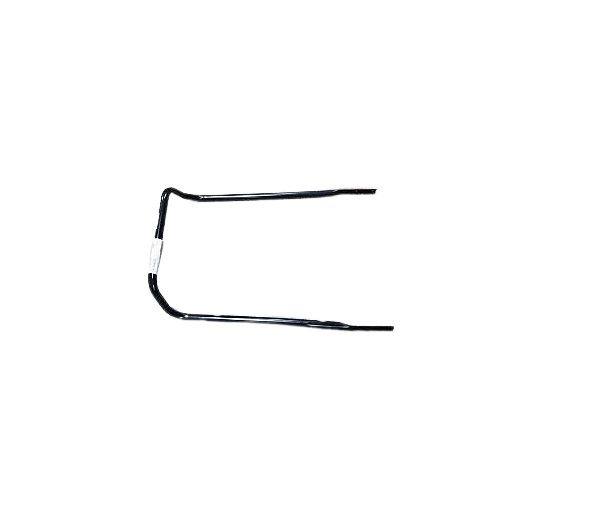
The Toro 140-3744 Upper Handle Assembly with Decal is an essential part that can be used to replace snow blowers. This is the main control center and enables them to comfortably control and manage their snow removal equipment. The handle is designed to offer better grip and control while operating the machine minimizing the fatigue level of the operator during snow-clearing activities. They include regaining maneuverability and safe operation. This upper handle assembly is made of heavy-duty snow blowers and comes with a decal.
What maintenance is required for the Toro 140-3744 Upper Handle Assembly With Decal?
Regularly inspect the handle assembly for cracks, loose bolts, or worn grips that could affect control. Clean snow, dirt, and debris from the handle after each use to prevent corrosion. Tighten fasteners as needed to maintain stability. Replace damaged parts to ensure safe and precise operation.
What are common issues with the Toro 140-3744 Upper Handle Assembly With Decal?
Handle controls loose.
Steering becomes unsteady.
Chute control response delayed.
Movement becomes inconsistent.
Please, mind that only logged in users can submit questions
We strive to provide our customers with a hassle-free and efficient shopping experience. Our shipping policy ensures the timely delivery of your orders and complete customer satisfaction. View More
We are committed to ensuring your complete satisfaction with every purchase. We understand that circumstances may arise where you must return a product or request a refund. If for any reason you are not satisfied, you may return the item(s) according to the terms outlined below. View More
This Payment Policy outlines the terms and conditions governing all payments made for products purchased through our website. By making a purchase, you agree to be bound by this Payment Policy. View More
Installation Steps
Step1: Disconnect the spark plug to prevent accidental startup.
Step2: Remove any knobs or bolts securing the old upper handle.
Step3: Detach the old handle from the lower frame assembly.
Step4: Align the new upper handle with the mounting points.
Step5: Secure using the original bolts or knobs, ensuring a snug fit.
Step6: Attach the decal in the designated location.
Step7: Reconnect the spark plug and test the handle stability before operation.

Validate your login